Getting Started with Computer Vision

Computer vision is a subset of artificial intelligence that enables computers to extract meaningful information from visual data (images and videos). Convolutional Neural Networks CNNs Convolutional neural networks mainly consists of three types of layers — input layer, hidden layer, and output layer.
The input layer is the first layer of a CNN. It contains the input data. In a simple image recognition model, the input is usually the RGB values of each pixel of an image.
The middle layer of a CNN consists of many hidden layers connected to each other. Hidden layers transform data by applying complex mathematical functions. Once the data is transformed, the hidden layer passes the transformed data to the next hidden layer for further processing.
Once there are no more hidden layers, the transformed data is passed to the output layer. The output layer contains the produced output data. In a simple cat vs dog image recognition model, the output is the probability of the image containing a dog vs a cat.
If you'd like to learn more about how neural networks work, I highly recommend watching the video below:
Choosing a Deep Learning Framework
There are many deep learning frameworks to get started with Computer Vision. Mainly Tensorflow, PyTorch, Caffe, and many more. These deep learning frameworks are a good way to get started, but it's very hard for a beginner to produce image recognition models that have higher than 90% accuracy using these frameworks because they require you to have a solid understanding of computer vision. This is why I highly recommend starting with the fast.ai library. Unlike most deep learning frameworks, fast.ai simplifies a lot of things for you. Such examples would be the implementation details of transfer learning and image augmentation. These could be easily implemented with a few lines of code when using the fast.ai library.
Development Setup
There are two ways to get set up the fast.ai environment.
(Recommended) The first way is to use a cloud environment that provides you with a free GPU. I highly recommend PaperSpace. To get started, Create an account.
Once you've created your account, create a notebook:
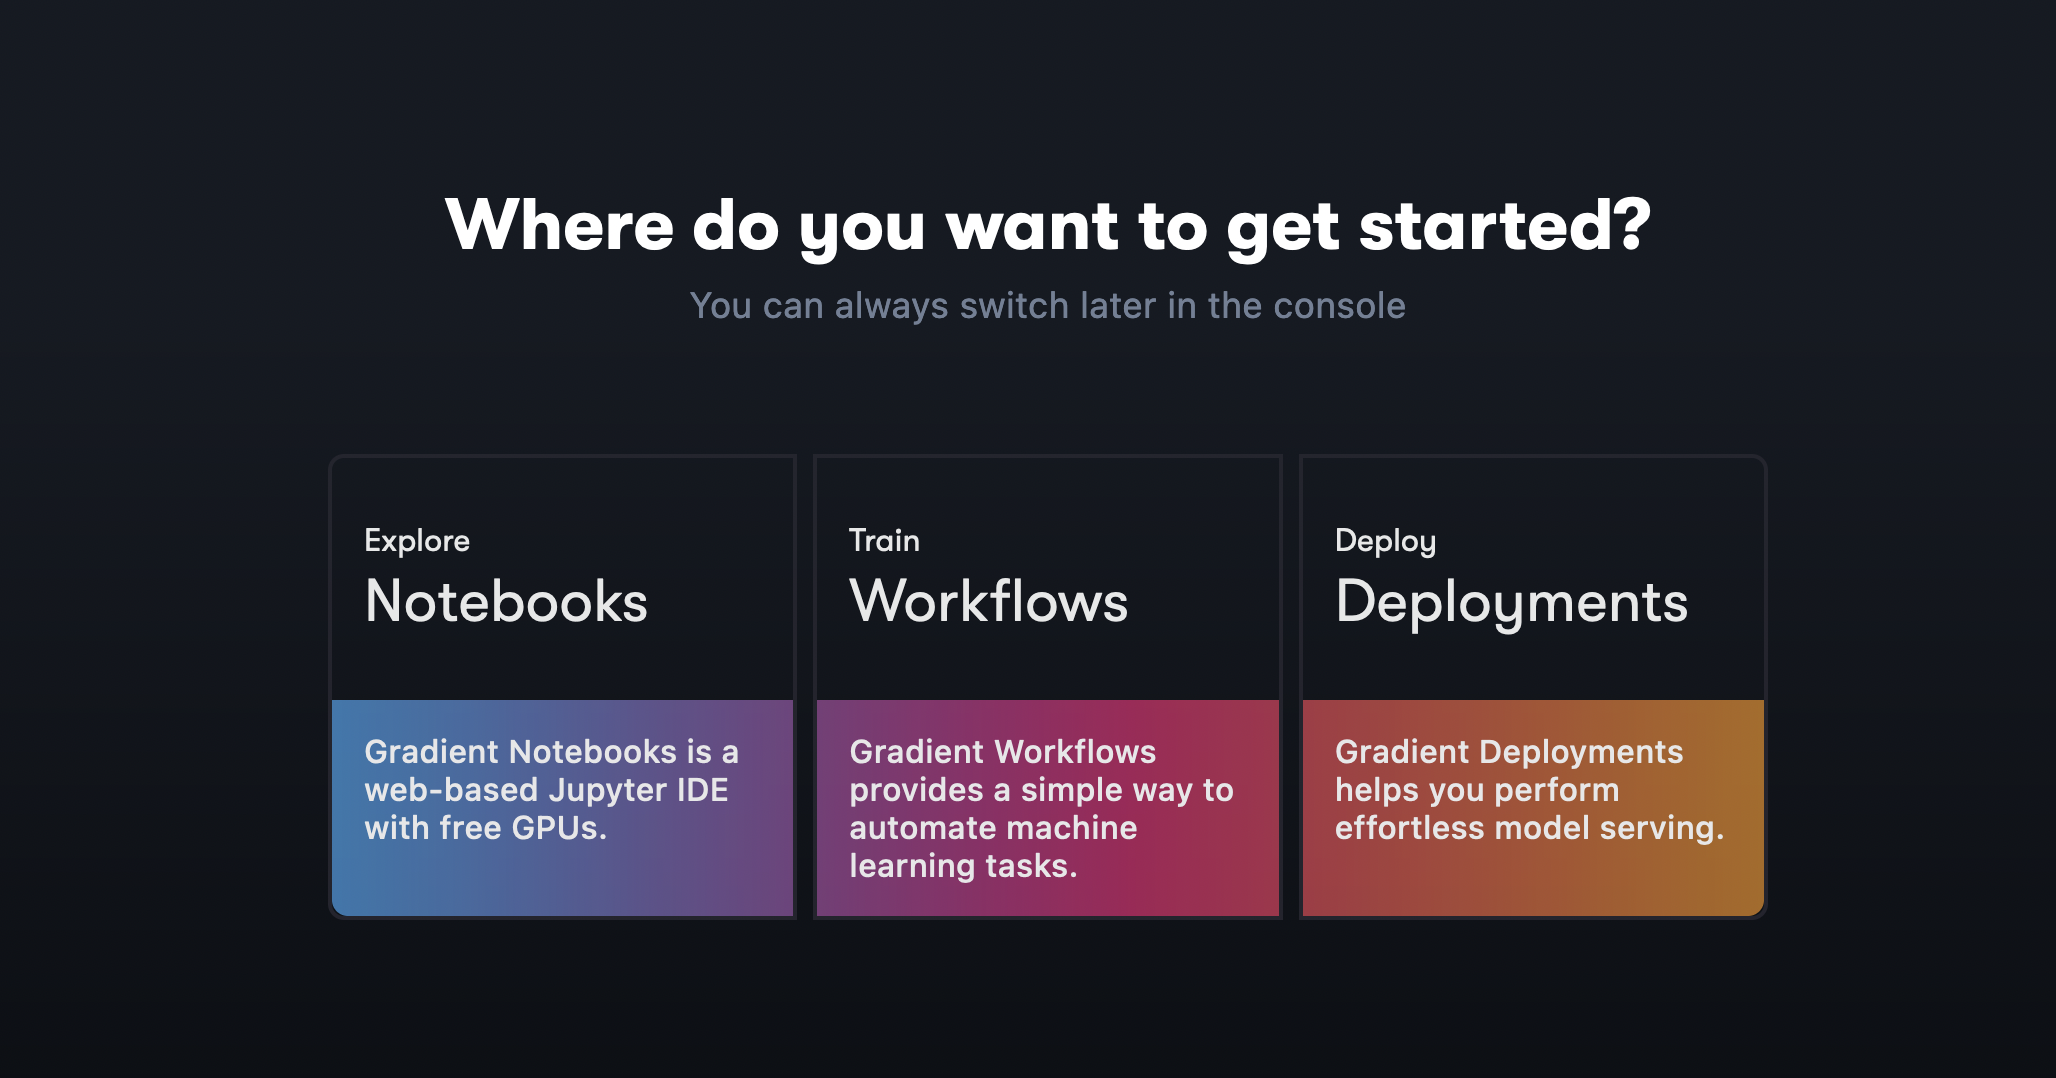
Click on the "Create" button.
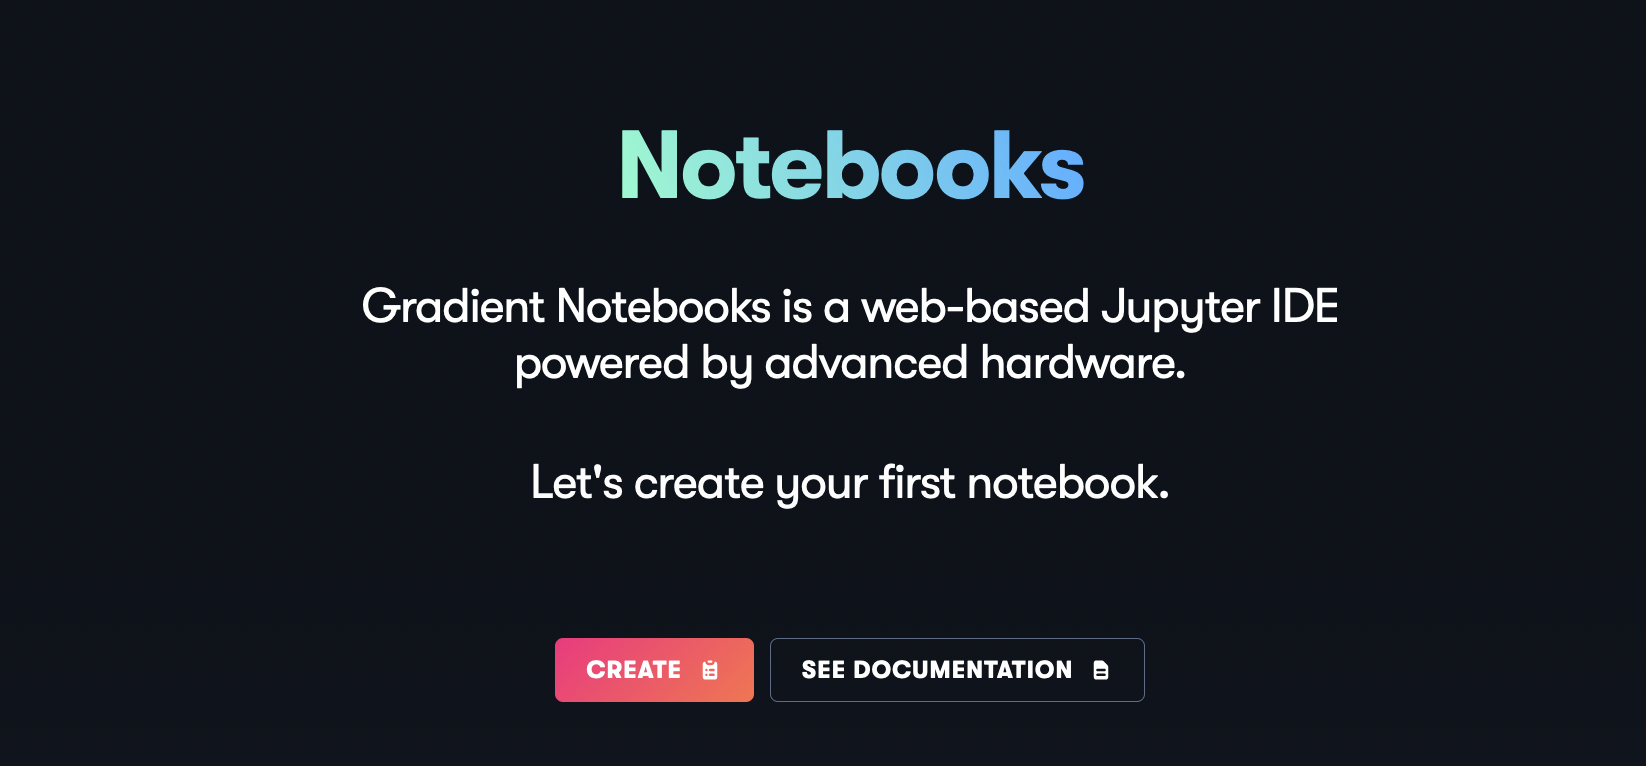
Select the "fast.ai" card.
Make sure you have "Free GPU" as your machine selected and click "Start Notebook".
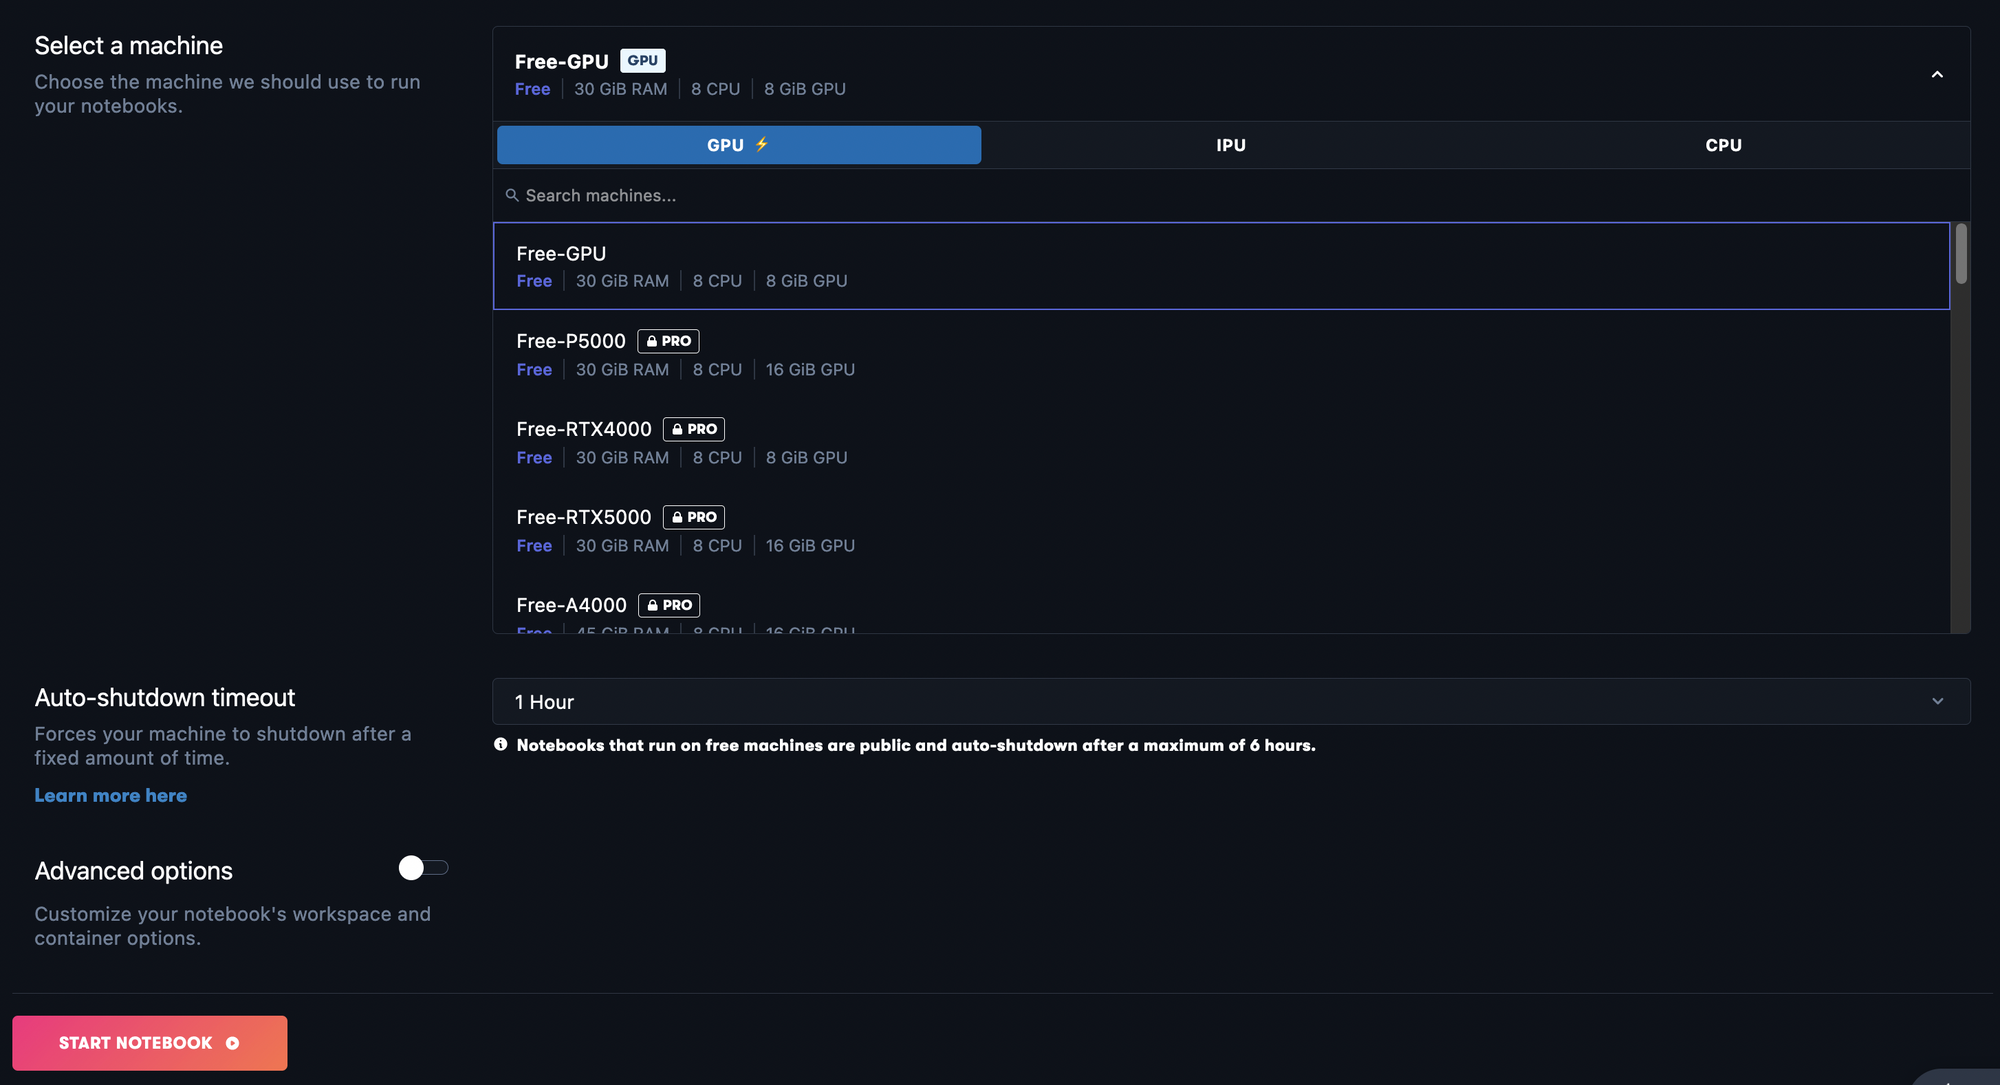
If you see the message "We are currently out of capacity for the selected VM type. Try again in a few minutes, or select a different instance." you have to select "CPU" and then select "Free CPU" as your machine instead.
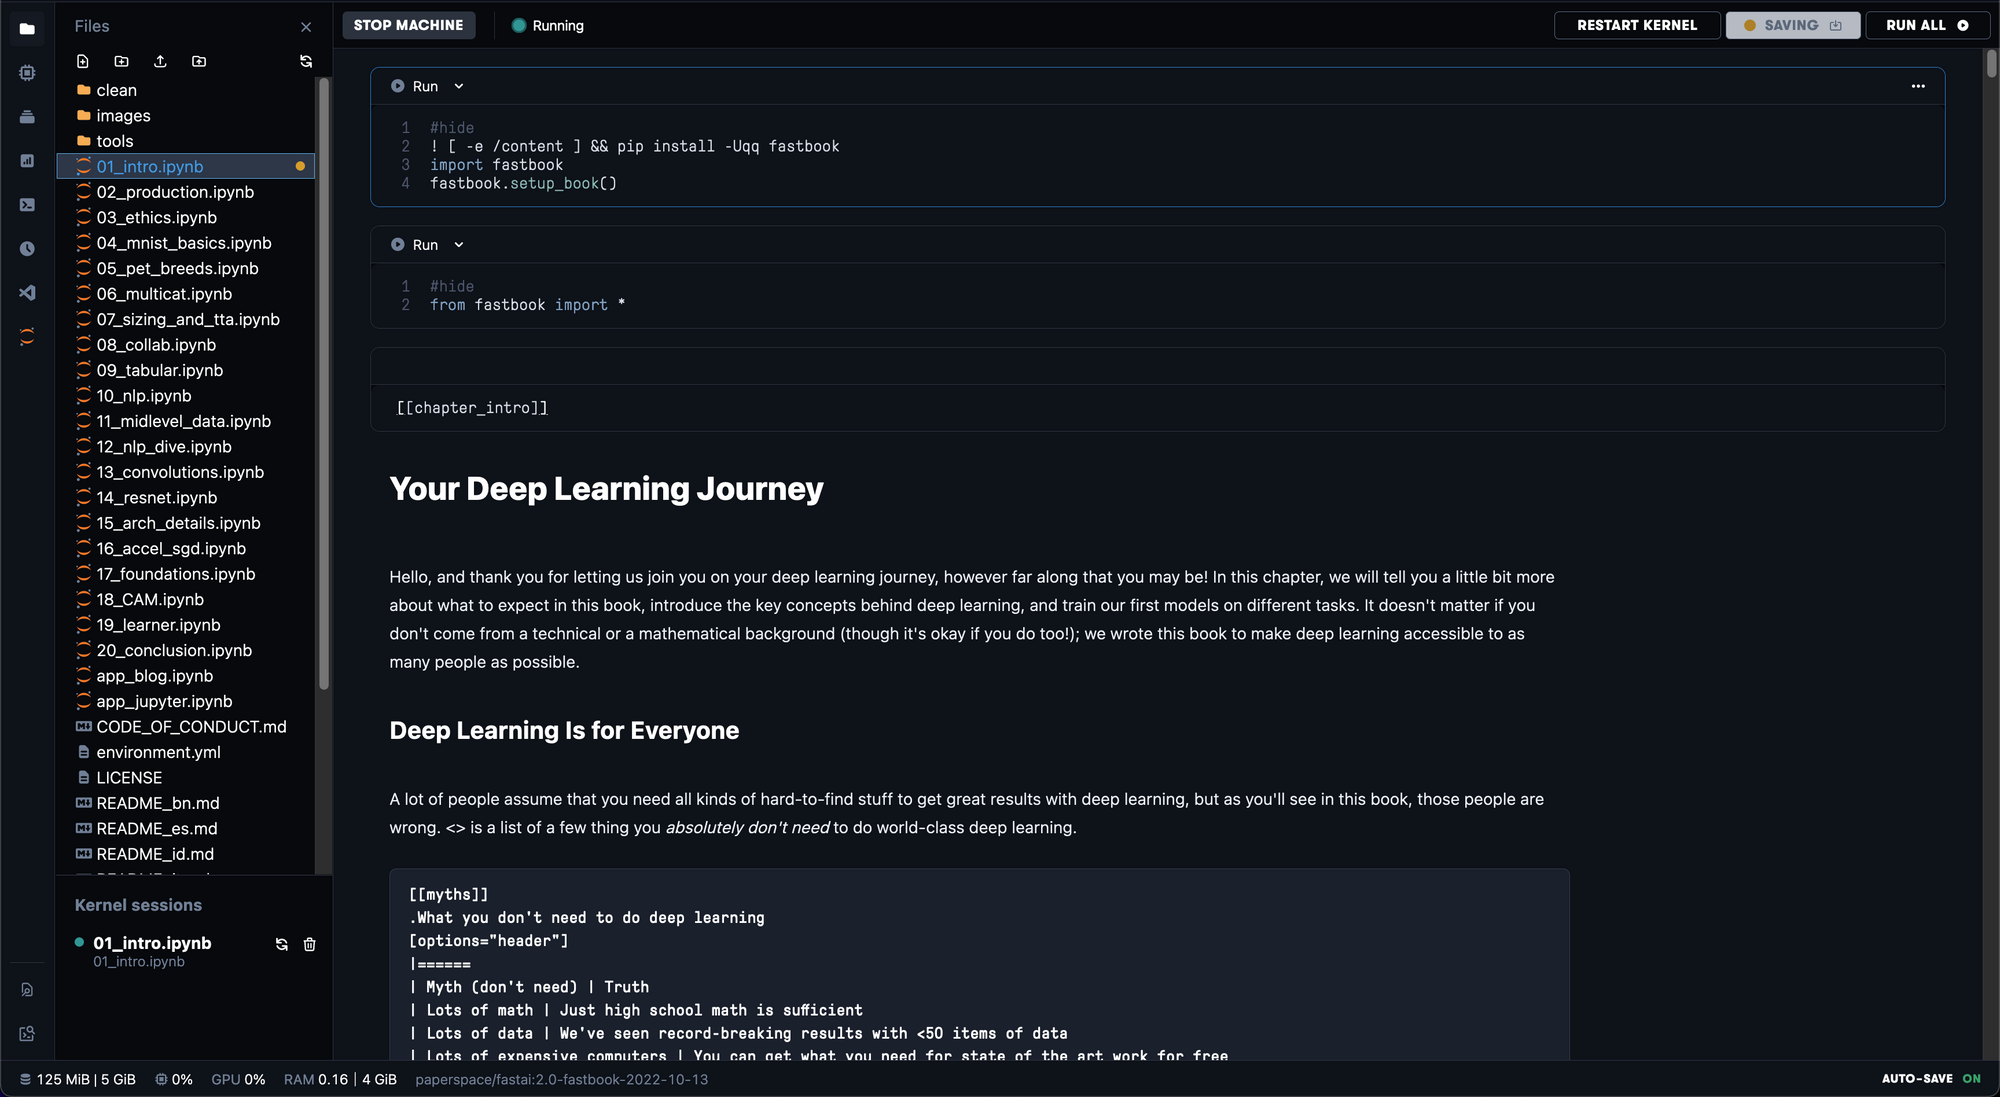
Once you've got it to work, congrats!
(Not Recommended) The second way to set up a fast.ai environment is to do it locally. I don't recommend this since you'd need to do a lot of setup to get it to work. Not having an Nvidia GPU will make things wose because you can't use CUDA. If you'd like to set it up locally though, you'd need to install anaconda. After installing anaconda, you'd have to open a new terminal, (reopen if it's already opened), and run the following command:
conda install -c fastchan fastai anaconda
Once done, you have to launch a jupyter notebook through anaconda and you're set.
What to do Next?
Now that you've got it set up, you can now start with going through the lesson from 01_intro.ipynb. I highly recommend beginners to start with them since these written lessons are concise and easy to understand.
Other Learning Resources
There are also a lot of great learning resources aside from the notebooks above. You can use these as learning aid while going through the jupyter notebooks above. The ones I recommend are the official resources made by the fast.ai creators, Jeremy Howard and Sylvain Gugger.
- Written Article (Planned)
- Official Course: https://course.fast.ai/
- Official Book: https://github.com/fastai/fastbook
- Official Youtube PlayList: https://www.youtube.com/playlist?list=PLfYUBJiXbdtSvpQjSnJJ_PmDQB_VyT5iU
- Official Docs: https://docs.fast.ai/
- Official Paid Book: https://www.amazon.com/Deep-Learning-Coders-fastai-PyTorch/dp/1492045527