Installing Flutter in MacOS


What is Flutter?
Flutter is an open source framework made by Google. It enables a developer to create native cross-platform apps from a single codebase. This means that you can develop Android, iOS, Web, and Desktop apps at the same time in a single codebase. Flutter is mainly used for developing mobile apps but its use can be extended to developing web and desktop apps.
Flutter Installation
Important: If you’re installing on Apple Silicon (M1 Chips and M2 Chips), you need to have the Rosetta translation environment. You can install this manually by running:
sudo softwareupdate --install-rosetta --agree-to-license
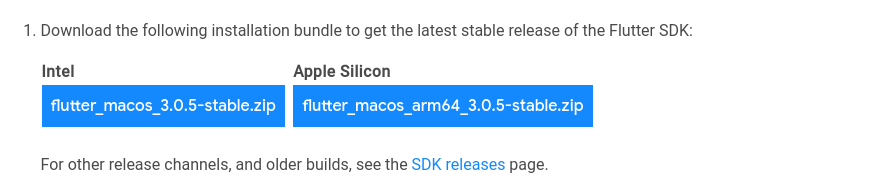
- Download the Flutter SDK from the installation page. If your mac uses
M1orM2related chips, download the Apple Silicon version. However, if your mac usesIntel x86chips, download the Intel version.
- Extract the files to your Documents folder; it should be located in
/Users/YourUsername/Documents.
Update your Path
- Open your terminal and run the following command to determine whether you're using
bashorzsh:
echo $0
- If the output is
bash, add flutter to your path by running the following command:
echo 'export PATH="$PATH:$HOME/Documents/flutter/bin"' >> .bashrc
- If the output is
zsh, add flutter to your path by running the following command:
echo 'export PATH="$PATH:$HOME/Documents/flutter/bin"' >> .zshrc
Verifying the Configuration
We have to make sure that Flutter has been configured correctly.
- Open a new terminal (Make sure you open a new terminal after adding Flutter to your PATH)
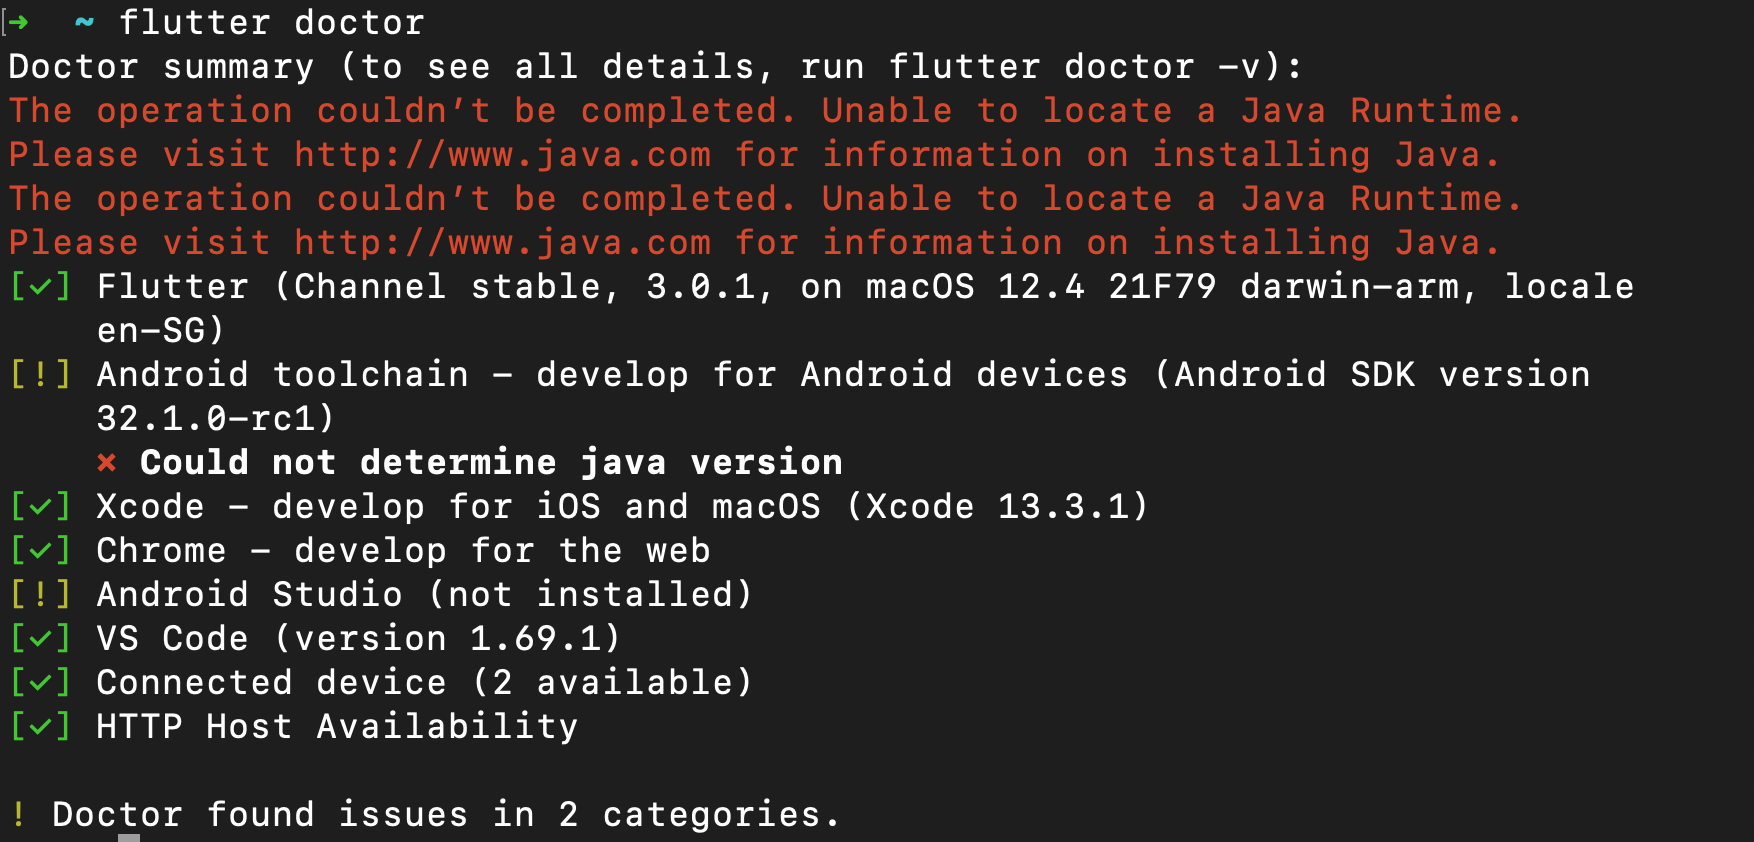
- Run
flutter doctorin your terminal.
If the command successfully runs, it will look similar to this:
Android Setup
- Download and install Android Studio.
- Start Android Studio, and go through the ‘Android Studio Setup Wizard’. This installs the latest Android SDK, Android SDK Command-line Tools, and Android SDK Build-Tools, which are required by Flutter when developing for Android.
- Run
flutter doctorto confirm that Flutter has located your installation of Android Studio. If Flutter cannot locate it, runflutter config --android-studio-dir <directory>to set the directory that Android Studio is installed to.
Android Virtual Emulator Setup
- Enable VM acceleration on your machine.
- Launch Android Studio, click the AVD Manager icon, and select Create Virtual Device.
- In older versions of Android Studio, you should instead launch
Android Studio > Tools > Android > AVD Managerand select Create Virtual Device. (The Android submenu is only present when inside an Android project.) - If you do not have a project open, you can choose
Configure > AVD Managerand select Create Virtual Device. - Choose a device definition and select Next.
- Select one or more system images for the Android versions you want to emulate, and select Next. An
x86orx86_64image is recommended. - Under Emulated Performance, select
Hardware - GLES 2.0to enable hardware acceleration. - Verify the AVD configuration is correct, and select Finish.
For details on the above steps, see Managing AVDs.
Agree to Android Licenses
- Run
flutter doctor --android-licensesto agree to the licenses - Type
yfor every license agreement that shows up - If it shows an error, you have to install the android sdk command line tools
- Open Android Studio, click on
More Actions>SDK Manager>SDK Toolsand click on thecommand-line toolscheckbox. - Click
Applyand wait for it to install. - Run
flutter doctor --android-licensesto agree to the licenses
VS Code Setup
- Download and install VS Code
- Once it is opened, open the extensions tab and install the Flutter extension
- Open the Command Palette by pressing
Ctrl + Shift + P. - Type
New Projectand selectFlutter: New Project - Select
Applicationand type any project name - Select a folder to create the project in and you're ready to go!